
MicroStrategy ONE
Navigating the App Interface
The following options appear at the top of the screen:
- Menu (
 ) — Display the menu options: Refine, Groups, and Settings. See Menu options.
 - Sent Notifications (
 ) — Display sent notifications. See Communicating and Polling Individuals and Groups.
 - Group (
 ) — Creates a group of the selected users. If no users are selected, then a group is created of all users on the screen. See Creating, Viewing, and Editing Groups of Users.
For additional settings, see MicroStrategy Communicator Settings.
Menu Options
Click the menu () option (upper-left) to display the menu options.
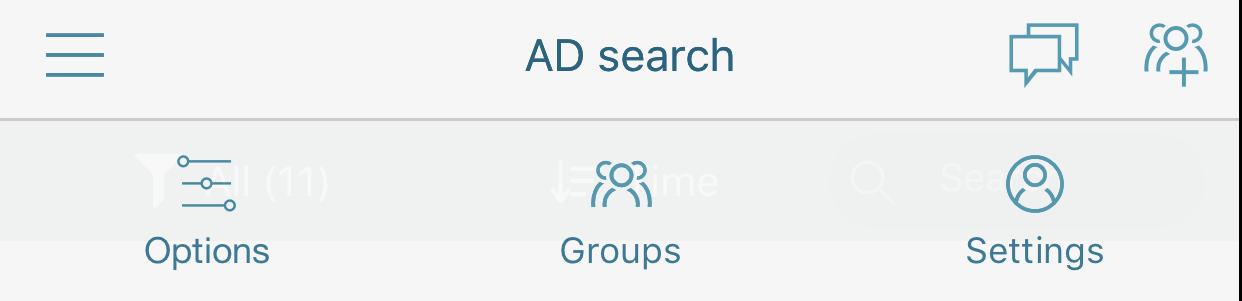
The following table lists the menu options.
| Option | Description | |||||||||||||||
|---|---|---|---|---|---|---|---|---|---|---|---|---|---|---|---|---|

|
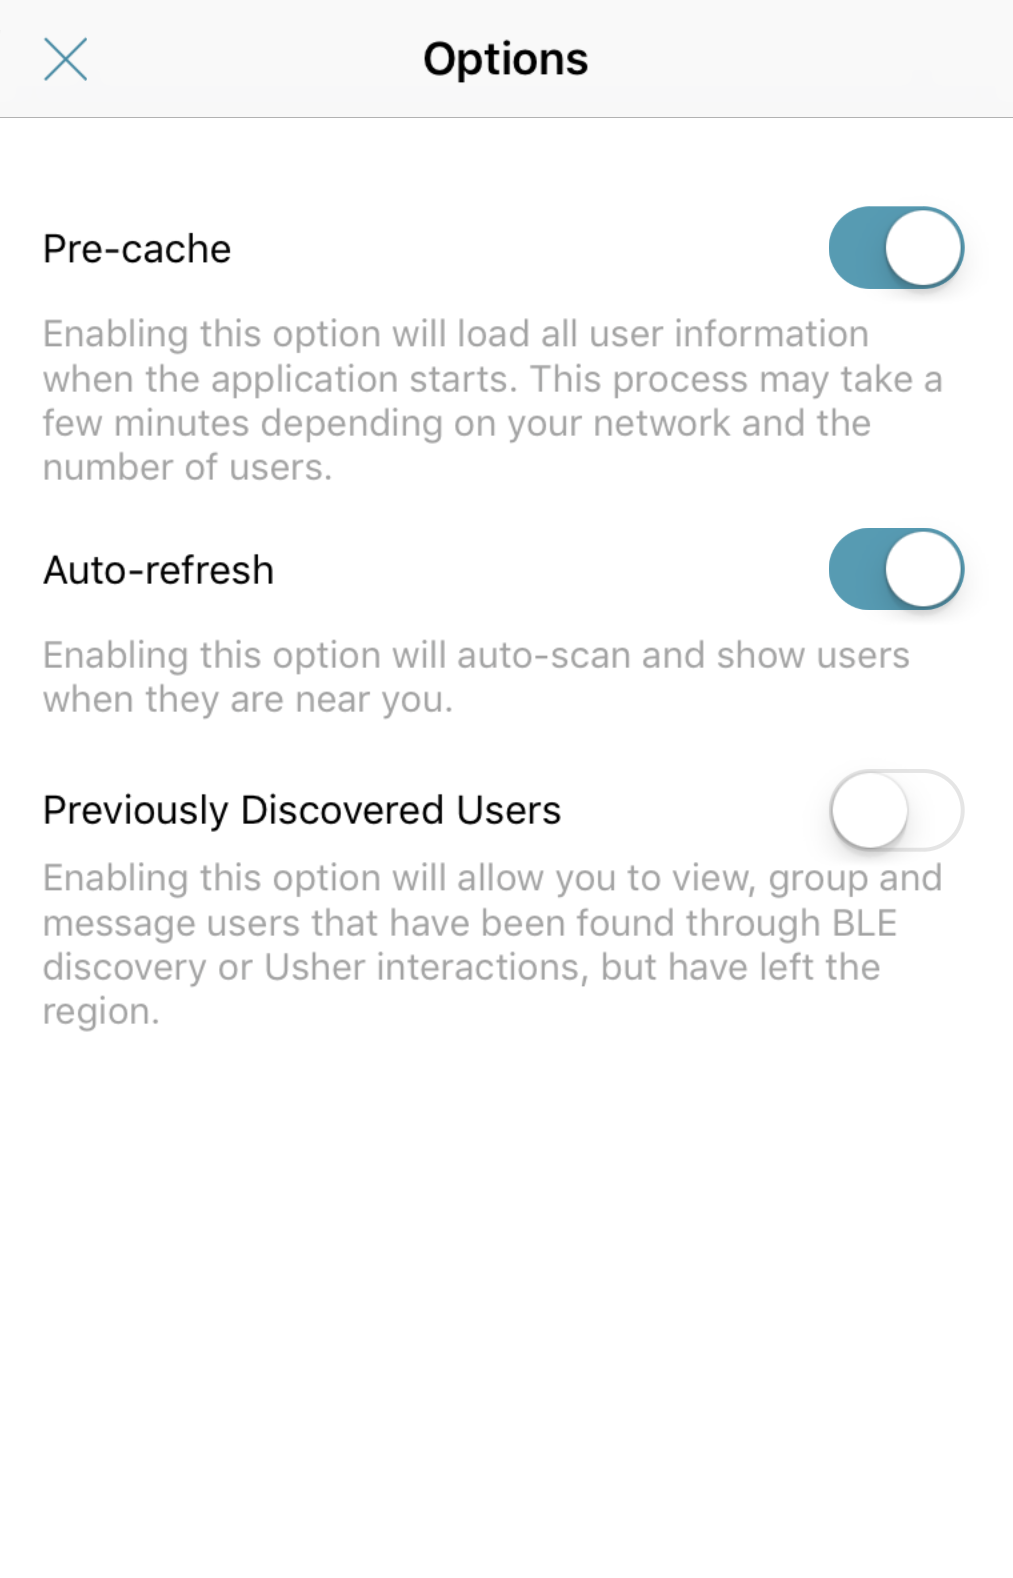
Options — allows you to define the Pre-cache, Auto-refresh, and Previously Discovered Users options.
|
|||||||||||||||

|
Groups option — displays a list of saved groups.
When viewing a group, tap:
Click X in the upper-left to return to the search screen. |
|||||||||||||||

|
Settings option — allows you to log in to different Identity Networks.
|
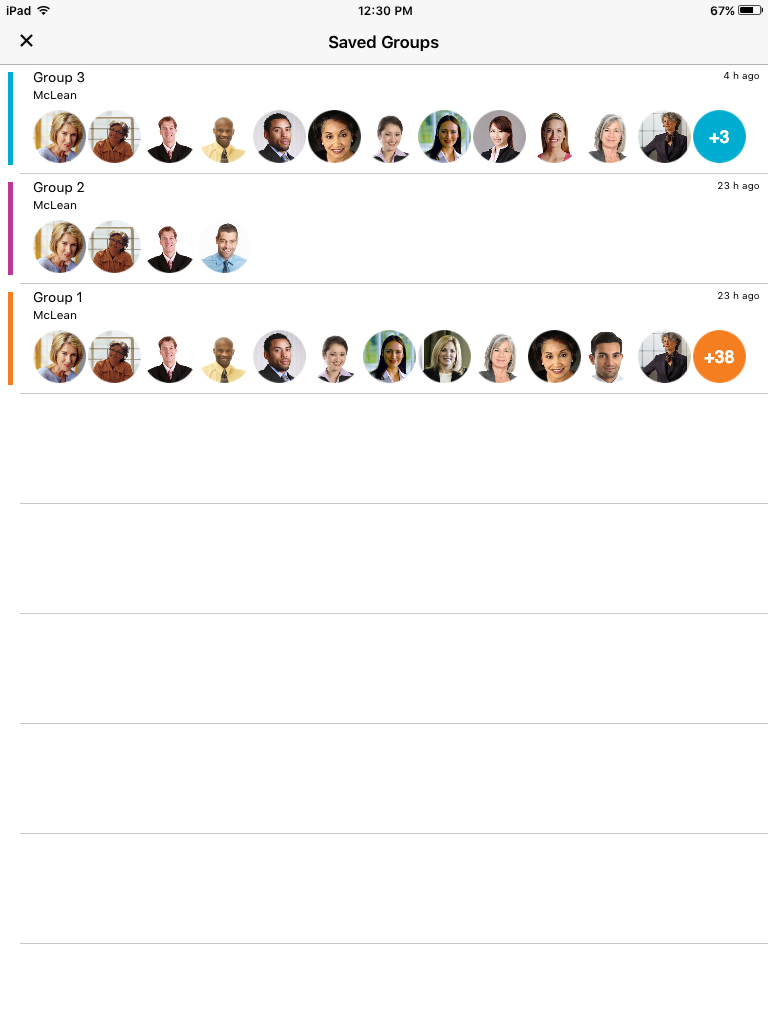
 ) to change the name of the group, to delete users from the group, or to delete the group.
Views
The following table lists the available views when searching for users.
| View | Description | |||||||||||||||||||||||||||
|---|---|---|---|---|---|---|---|---|---|---|---|---|---|---|---|---|---|---|---|---|---|---|---|---|---|---|---|---|

|
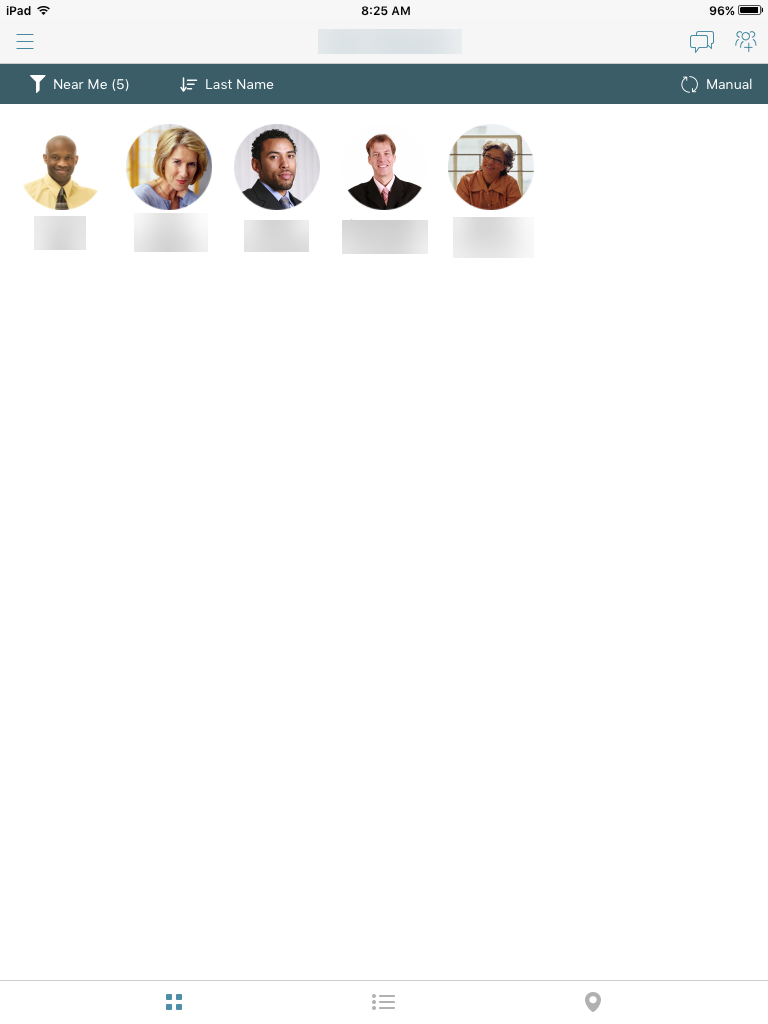
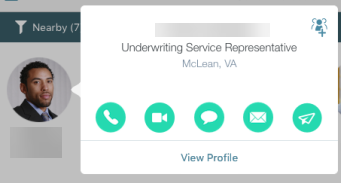
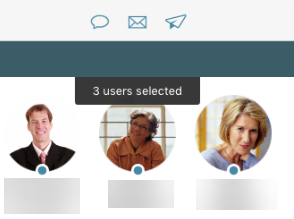
Grid view — allows you to view and select one or more persons, making the most of the available screen.
On the information card, tap:
Selected users are indicated with a blue dot between the picture and name. For selected users, tap:
Tap Select All or Clear All (bottom of screen). Tap Cancel (upper-left) to end selection mode. |
|||||||||||||||||||||||||||

|
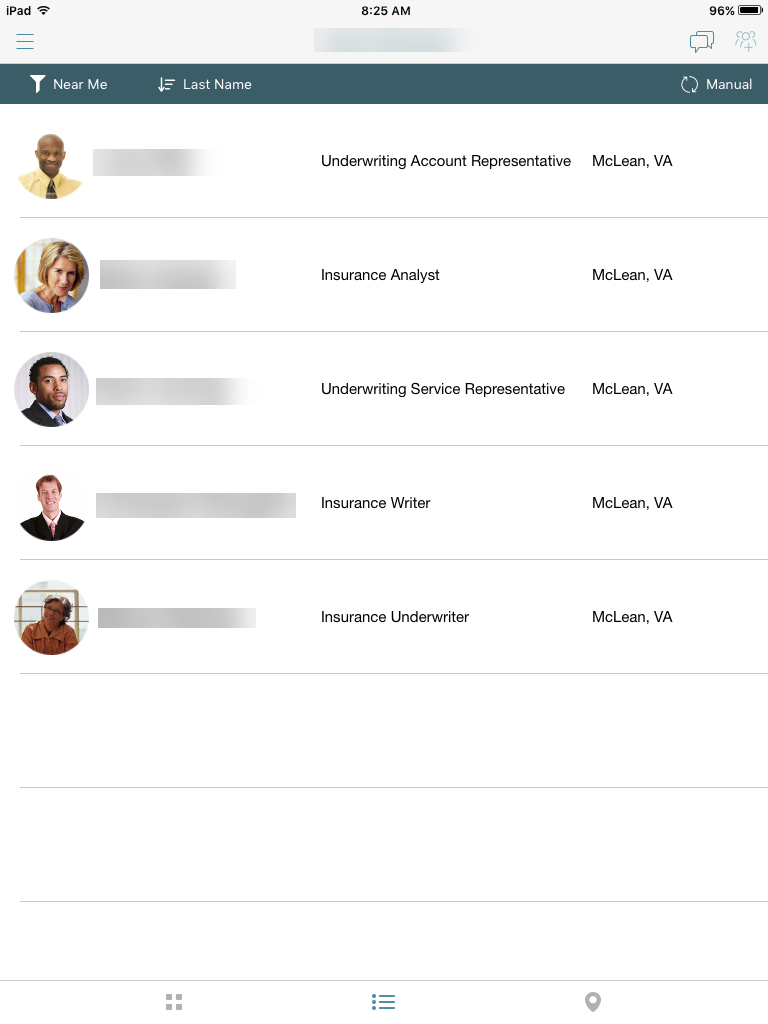
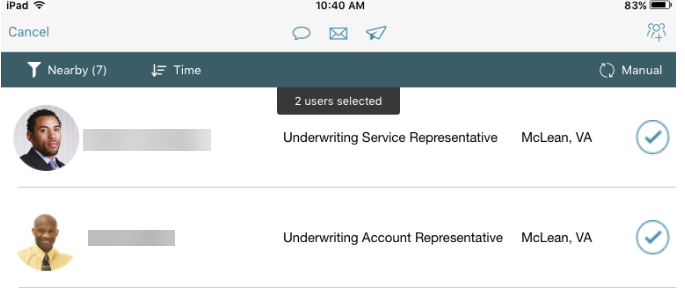
List view — allows you to view and select one or more persons in a list. For each person, the list includes a picture, name, title, and last location.
On the profile card, tap:
Selected users are indicated by a bubble with a check to the right. For selected users, tap:
Tap Select All or Clear All (bottom of screen). Tap Cancel (upper-left) to end selection mode. |
|||||||||||||||||||||||||||

|
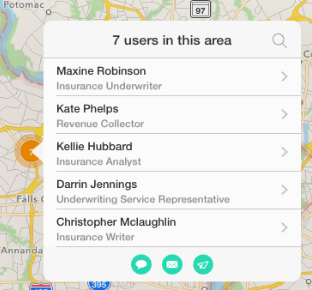
Map view — allows you to view the location of users on a map and select one or more persons in a list. For each person, the list includes a picture, name, title, and last location.
From the list, tap:
Tap the selection option (Square, Circle, Freehand) and draw a shape around the users. Then in the pop-up menu, tap:
Click the X option to delete selected area.
|
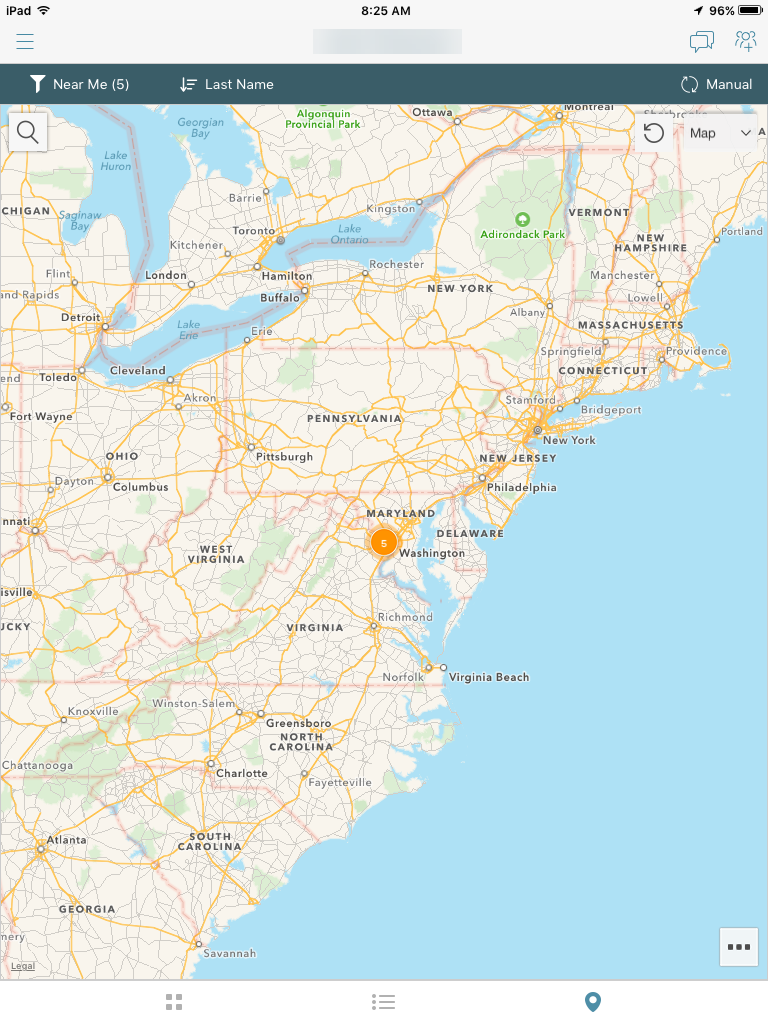

 ) icon (upper-right) to fresh the users displayed on the map.
 ) icon (upper-left) to search for users. See
 MicroStrategy Communicator Settings
On your iPhone or iPad, tap Settings > MicroStrategy Communicator to define the following options:
- Location — Specifies when your location is available to the app: Never or While Using (default).
- Notification — Specifies whether to show notifications. If turned on, specifies whether to show notifications in the Notification Center and on the Lock screen.
- Background App Refresh — Specifies whether to continually update the data shown in MicroStrategy Communicator when the app is running in the background. By default, this option is enabled.