Strategy One
Create File Subscriptions
You can also add bursting to file subscriptions. Bursting in Strategy Distribution Services delivers reports and documents to a dynamic list of recipients with data sliced by a specific attribute. Bursting is used when you must send personalized slices of data to multiple file locations with a single subscription. Bursting allows easy distribution of data to multiple file devices dynamically and delivers data in a single execution enhancing the performance.
| Bursting is unavailable by default. It is only available for reports and documents that have at least one attribute in the page-by section.
- Open the Workstation window.
- In the Navigation pane, click Subscriptions.
- Click Create New Subscription.
- In the Create New window, if you are connected to multiple projects, select the project from the drop-down list on the left.
-
In Name, enter a descriptive name for the subscription.
-
From the Type drop-down, choose File.
-
In the Content pane, click
 . Select content to add to one subscription, such as one dashboard, document, or report.
 -
In the Content pane, click More
 next to each dashboard or report to change the delivery format.
S upported formats for dashboards are
-
If you select Plain Text, select the delimiter character from the Delimiter drop-down list.
-
If you select PDF for a dashboard, you can define PDF settings such as the range, page size, and showing page numbers. Click Settings
 to display the PDF Settings window. After you define the settings,
click Save to return to the subscription.
to display the PDF Settings window. After you define the settings,
click Save to return to the subscription. -
If you select Excel for a dashboard, define the Range by specifying which pages and chapters to include, select whether each page or each visualization is exported to a worksheet by defining the Contents, and determine whether to Show Filters.
-
If you select Excel for a report, define the Range by specifying whether to expand all page-by fields and export the page-by information, selecting whether to Export the Report Title and Export Filter Details, and customizing the Header and Footer text.
-
If you select CSV for a dashboard, define the Range by specifying which pages and chapters to include and select the delimiter character from the Delimiter drop-down list.
-
-
To only view schedules you own, toggle on Show my schedules only.
-
Once the schedule is set, you can optionally specify the date when the subscription should stop by selecting the date in Expire on or Stop After and choose a Timezone, if available.
-
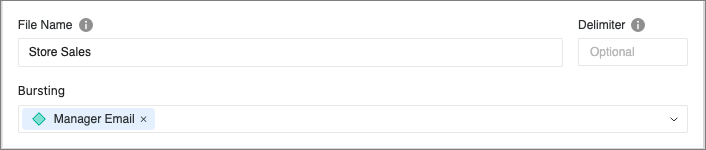
If you have selected a report or document with at least one page-by attribute, you can select an attribute for Bursting.
-
Enter the desired File Name with the necessary macros for customized file delivery.
-
To deliver the files to users' file delivery addresses, select File locations from Users . Click
Add User to add users for the file delivery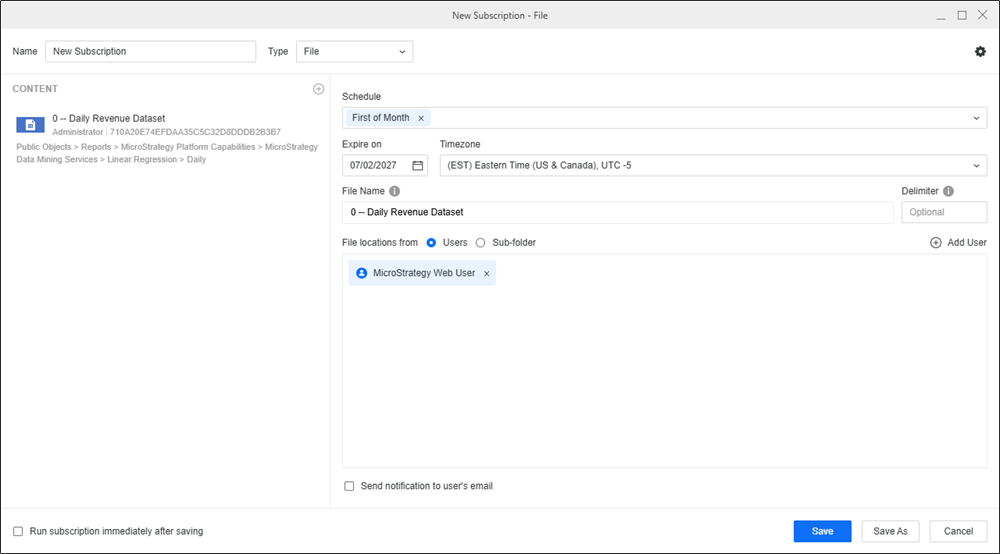
-
To deliver files to a file device or a user specified file location, select File locations from Sub-folder. Select the file devices from the drop-down or type in a path for a specific file location.
-
Click
to adjust subscription-level settings . You can set the contact security level, as well as choose the compression and zip file password. To learn more about the contact security level, see Create FTP Subscriptions.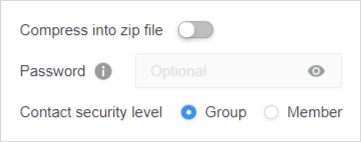
-
If necessary, you can opt to Send notifications to user’s email and Run the subscription immediately after saving.
-
Click Save.